
If you are in the market for a new UTV, then you may want to consider the Can-Am Defender. One of the features that sets this UTV apart from others is its spare tire mount. This mount is designed to make changing a flat tire quick and easy.
Here is a look at how the spare tire mount works and what it can do for you.
If you own a Can-Am Defender, you know that one of the most important accessories for your vehicle is a spare tire. And, the best way to ensure that your spare tire is always with you and within easy reach is to invest in a Can-Am Defender Spare Tire Mount.
There are a few different options available when it comes to choosing a spare tire mount for your Can-Am Defender.
You can opt for a traditional bumper-mounted spare tire carrier, or you can choose a roof-mounted option. Both have their pros and cons, so it really comes down to personal preference as to which one is right for you.
Bumper-mounted spare tire carriers are typically less expensive than roof-mounted carriers, and they offer quick and easy access to your spare tire.
However, they can add some extra weight to the front of your vehicle, which can impact handling and fuel economy.
Roof-mounted spare tire carriers are more expensive than bumper-mounted carriers, but they keep the weight evenly distributed across the vehicle and out of the way of any cargo you might be carrying in the bed or on top of other accessories like a rooftop tent. They can be more difficult to access, however, so if quick and easy access to your spare is paramount, this might not be the best option for you.
Ultimately, whether you choose a bumper-mounted or roof-mounted Can Am Defender Spare Tire Mount , both options will keep your spare safe and sound while giving you peace of mind on those offroad adventures.
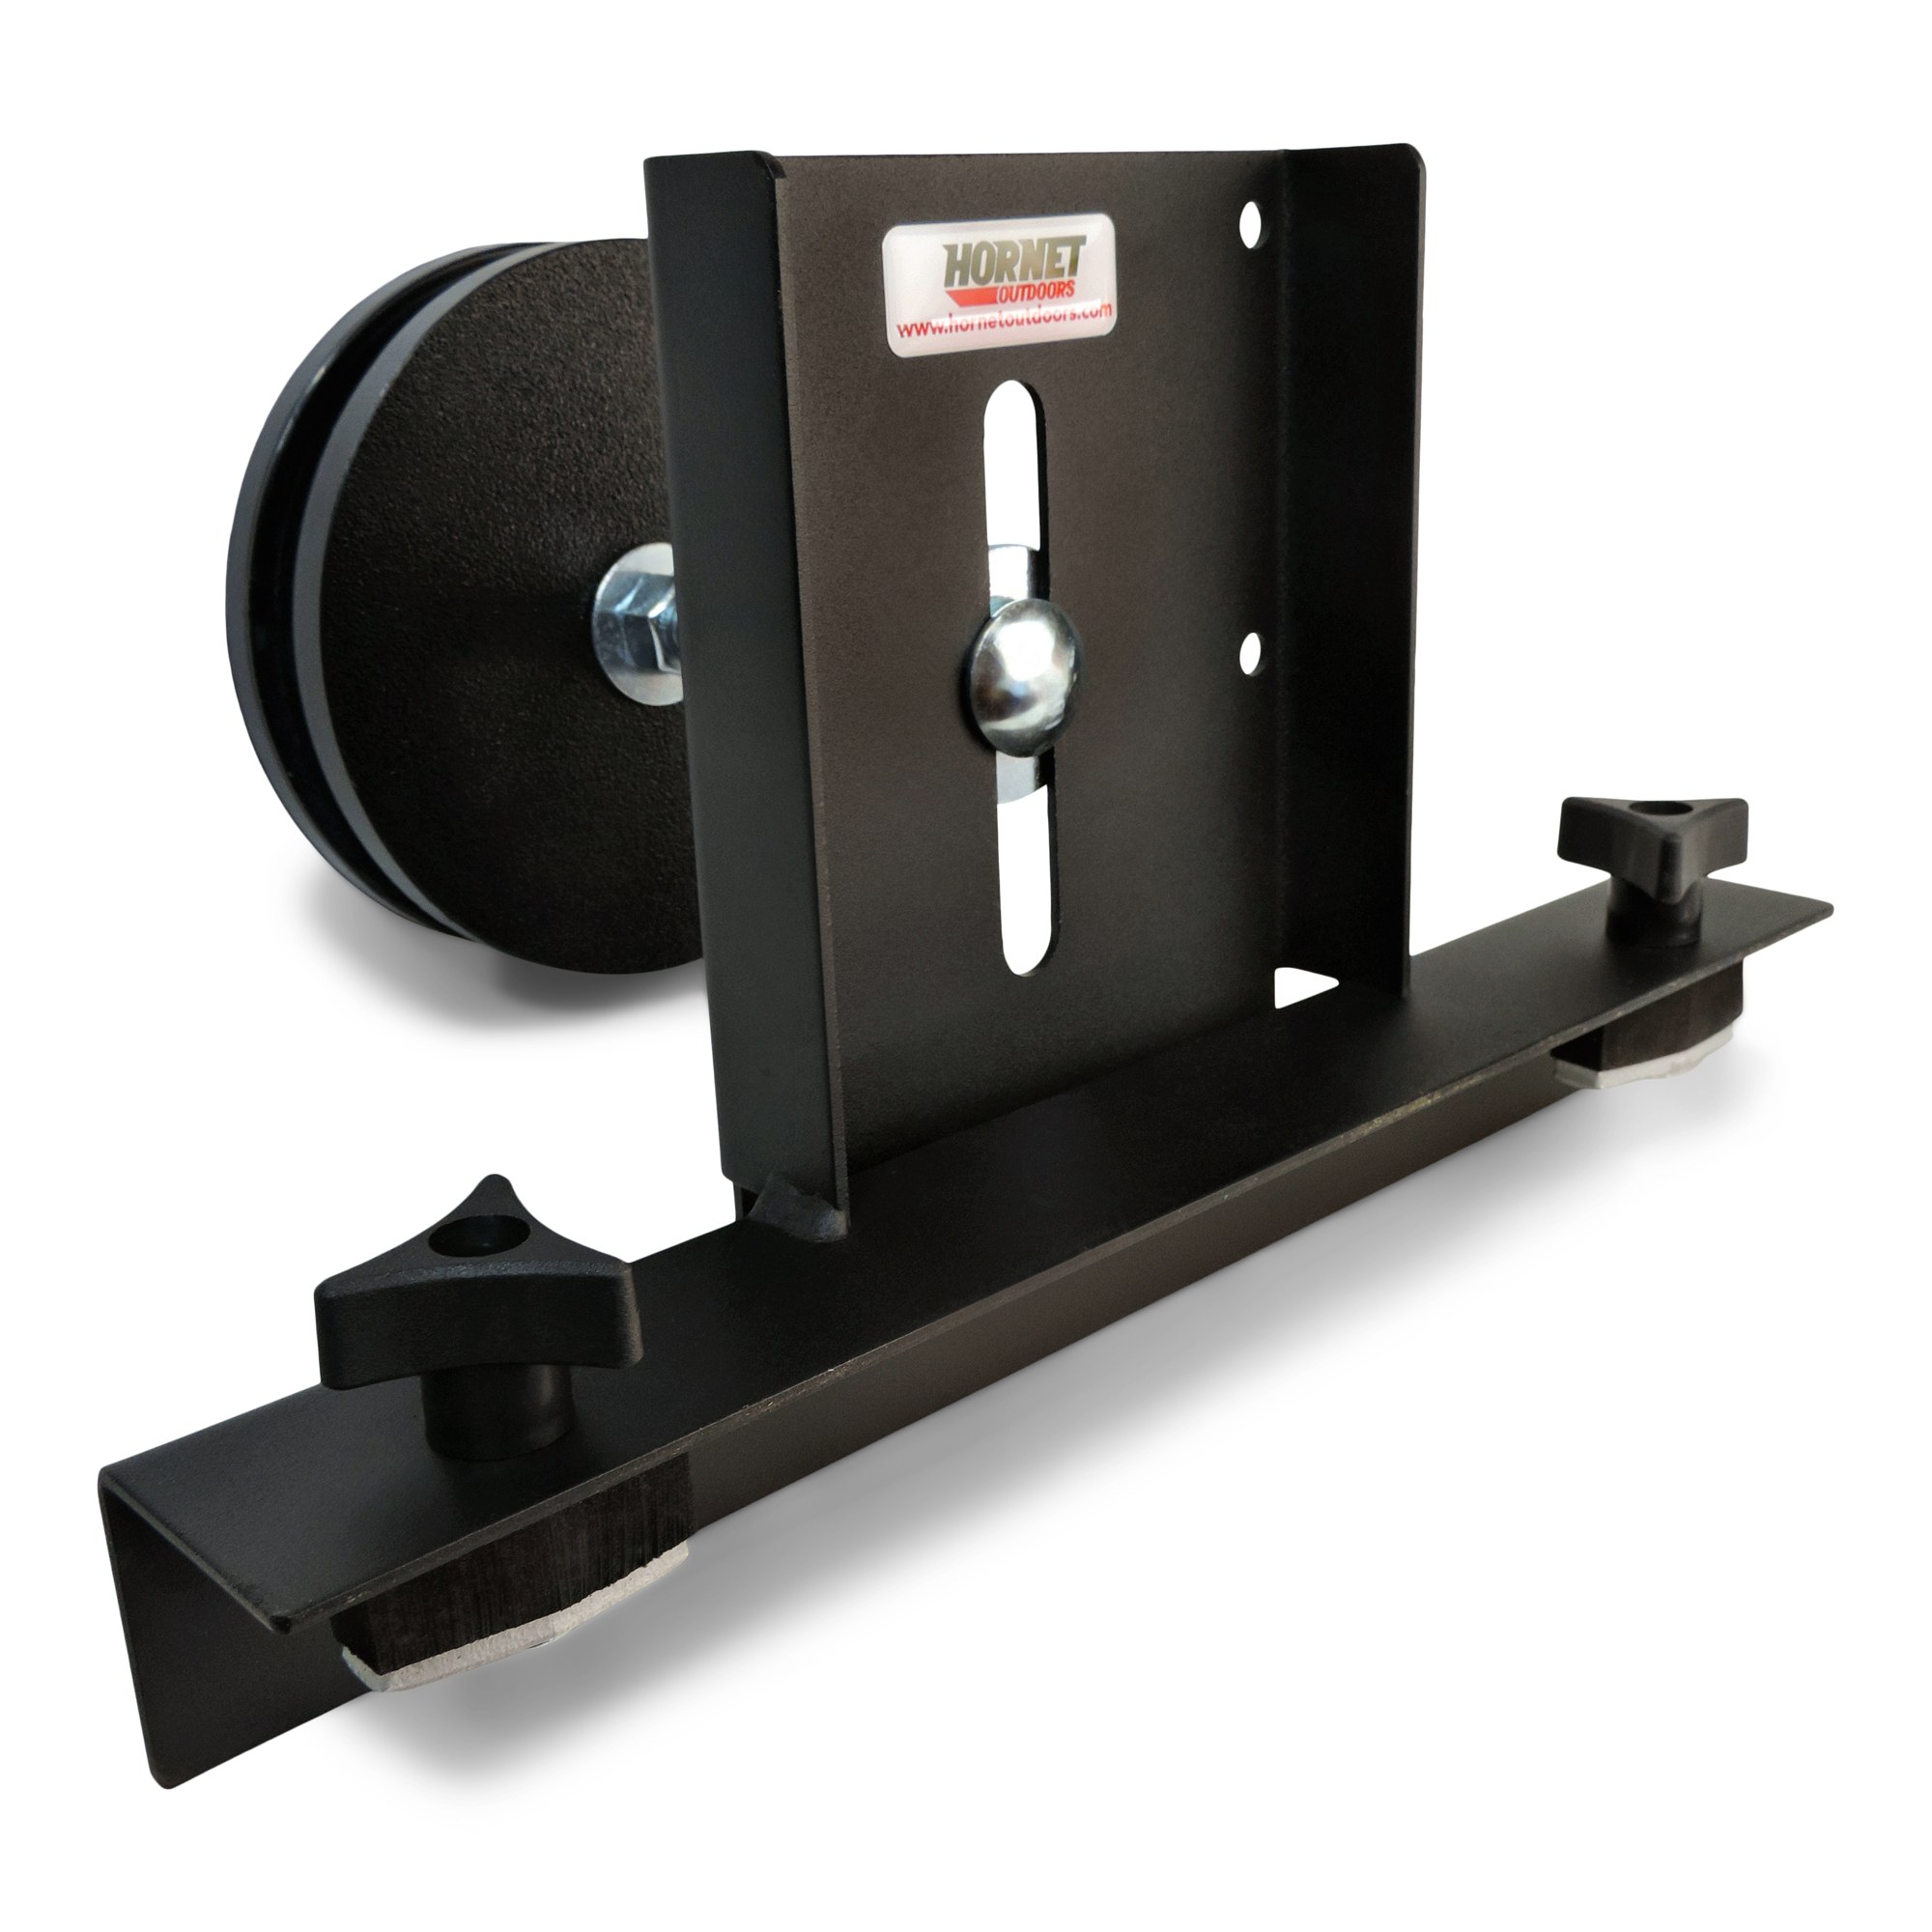
UTV Spare Tire Mount
Q: Where Can I Find a Spare Tire Mount for My Can-Am Defender
There are a few places that you can find a spare tire mount for your Can-Am Defender. The first place to check would be your local Can-Am dealer. They should have a few different options available for you to choose from.
Another option would be to check online retailers such as Amazon or eBay. There are usually a few different companies that make aftermarket mounts specifically for the Can-Am Defender, so you should have no problem finding what you’re looking for.
Q: How Do I Install a Spare Tire Mount on My Can-Am Defender
Assuming you have all the necessary parts for installation, the process of installing a spare tire mount on your Can-Am Defender is as follows:
1. Park your vehicle on level ground and set the parking brake.
2. Locate the two bolts that hold the spare tire mount to the frame (one on each side).
Use a socket wrench to remove these bolts.
3. Position the new spare tire mount over the holes in the frame and insert the bolts. Use a socket wrench to tighten these bolts until they are snug.
Do not overtighten.
4. Place your spare tire on the mount and secure it using the provided lug nuts (hand tight only at this point).
5. Lower your vehicle off its jack stands or ramps and remove them from under the vehicle.
6. With your vehicle still parked, use a torque wrench to properly tighten each lug nut according to your specific vehicle’s specifications (usually between 80-100 ft-lbs).
However, in General, You Will Need to Remove the Rear Panel of Your Defender And Drill Holes in Order to Bolt the Mount in Place
If you’re looking to add a winch to your Land Rover Defender, you’ll need to do some drilling. In most cases, you’ll need to remove the rear panel of your Defender and drill holes in order to bolt the mount in place. But don’t worry, we’ve got all the instructions you need right here.
First, you’ll need to remove the two bolts that hold the rear panel in place. Once those are removed, you can carefully pull the panel off. Be careful not to damage any of the wiring or other components as you remove it.
Next, it’s time to mark where you’ll be drilling. It’s important to get this right so that your winch will be properly mounted and aligned. Once you’ve marked your spots, drill four holes for the mounting bolts.
Now it’s time to bolt on the mount. Start by threading one of the bolts through one of the holes in the mount, then thread it through one of the holes you just drilled in your Defender’s bodywork. Do this for all four mounting points.
Then, use a wrench or socket set to tighten down all the bolts until they’re snug – but don’t overdo it or strip out the threads!
Finally, reattach your rear panel using the two bolts you removed earlier. And that’s it – you’re ready to start using your new winch!
Additionally, You May Need to Modify Or Replace the Factory Bolts That Hold the Rear Panel on
If you’re planning on doing any serious work on your car’s engine, it’s important to know how to remove the rear panel. This process can vary depending on the make and model of your car, but in general, you’ll need to disconnect the battery, remove a few bolts or screws, and then pry off the panel. Additionally, you may need to modify or replace the factory bolts that hold the rear panel on.
The first step is to disconnect the negative terminal of your battery. Once that’s done, locate the bolts or screws that hold the rear panel in place. These will typically be located around the edges of the panel.
Use a socket wrench or screwdriver to remove these fasteners, and then carefully pry off the panel.
In some cases, you may need to modify or replace the factory bolts that hold the rear panel on. This is typically only necessary if they are damaged or if you’re upgrading to aftermarket parts that require different sized bolts.
If you do need to replace them, simply head down to your local hardware store and pick up some new ones that are compatible with your car.
With a little bit of time and effort, removing your car’s rear panel is a relatively easy task. Just be sure to take care when disconnecting the battery and removing any bolts or screws, as damage can occur if done improperly.
Consult Your Instruction Manual for More Specific Installation Instructions
If you’re looking to install a ceiling fan, consult your instruction manual for more specific installation instructions. In general, however, you’ll need to first remove the old light fixture (if there is one) and then mount the ceiling fan bracket using screws. Once the bracket is in place, you can then attach the wires from the fan to the appropriate wires in your electrical box.
Finally, screw in the blades and put on the light kit (if applicable).
Q: What are Some Tips for Properly Storing My Spare Tire While Not in Use
Assuming you have a standard size spare tire, here are some tips for storing it while not in use:
1. Keep It Clean – Before storing your spare tire, be sure to clean it off. This will help prevent any dirt or grime from building up on the tire over time.
2. Find a Dry, Cool Location – It’s important to store your spare tire in a dry location that is out of direct sunlight. Sunlight can cause the rubber to deteriorate over time, so it’s best to keep it in a cool, dark place.
3. Check for Leaks – Be sure to check your spare tire for any leaks before storing it away.
If there are any leaks, you’ll want to get them fixed before putting the tire into storage.
4. Cover It Up – Once you’ve found a suitable location for storage, be sure to cover your spare tire with something like a tarp or cloth sheet.
Additionally, Be Sure That the Area Where You are Storing It is Free of Any Sharp Objects That Could Puncture the Tire
If you are wondering how to store a spare tire, there are a few things to keep in mind. First, make sure that the area where you are storing it is free of any sharp objects that could puncture the tire. Second, if possible, try to store the tire in a cool and dry place to prevent it from deteriorating too quickly.
Finally, if you have an air compressor, consider inflating the tire before storing it so that it will be ready to use when you need it.
Credit: www.everythingcanamoffroad.com
Can-Am Defender Accessories
As the owner of a Can-Am Defender, you know that your vehicle is built for hard work. But did you know that there are a number of accessories available to make your Defender even more versatile? Here are just a few of the many accessories available for the Can-Am Defender:
1. Winch – A winch can be a lifesaver if you find yourself stuck in mud or sand. It can also be used to help pull a heavy load.
2. Roof Rack – A roof rack gives you additional storage space for things like camping gear or extra fuel cans.
3. Side Steps – Side steps make it easier to get in and out of your Defender, especially if you’ve got large tires installed.
4. Light Bar – A light bar is great for illuminating your path when driving at night or in low-light conditions.
Can-Am Defender Parts List
If you’re in the market for a new UTV, the Can-Am Defender is definitely worth checking out. And if you already own a Defender, make sure you keep it running smoothly by regularly servicing it and replacing any worn parts. In this post, we’ll give you a detailed list of all the parts that make up the Can-Am Defender so that you can better understand how this amazing machine works.
The Can-Am Defender is powered by an 82 hp Rotax 1000cc V-twin engine, making it one of the most powerful UTVs on the market. It has a selectable 2WD/4WD drivetrain with front and rear locking differentials, allowing you to tackle any terrain. The vehicle also features independent suspension all around, giving you a smooth ride even over rough terrain.
Here’s a complete list of all the major parts that make up the Can-Am Defender:
Engine: The heart of the machine – an 82 hp Rotax 1000cc V-twin engine gives this UTV plenty of power.
Drivetrain: A selectable 2WD/4WD drivetrain with front and rear locking differentials lets you take on any terrain.
Suspension: Independent suspension all around provides a smooth ride even over rough terrain.
Can-Am Defender Rotopax Mount
If you’ve ever been out on the trails in your Can-Am Defender, you know that having a reliable way to carry extra fuel is a must. The Rotopax Mount is the perfect solution for carrying one or two Rotopax fuel containers on your Defender. This mount attaches easily to the rear rack of your Defender and provides a secure, stable platform for carrying your Rotopax containers.
TheRotopax Mount is made from powder-coated steel for durability and has an integrated tie-down point to keep your containers securely in place. The mount also features an integrated bottle opener, so you can crack open a cold one after a long day on the trails! Whether you’re looking to carry an extra gallon of gas for peace of mind or want to have enough fuel for a weekend camping trip, the Can-Am Defender Rotopax Mount is the perfect solution.
Can-Am Defender Parts for Sale
Looking for Can-Am Defender parts for sale? You’ve come to the right place! Here at UTV Direct, we carry a wide selection of aftermarket parts and accessories for the Can-Am Defender.
Whether you’re looking to upgrade your suspension, add some new lights, or just want to personalize your ride, we have the parts you need.
Our inventory includes everything from lift kits and shocks to wheels and tires. We also carry a variety of body panels and grilles so you can give your Defender a unique look.
And if you’re looking for something truly one-of-a-kind, be sure to check out our custom graphics section.
No matter what kind ofCan-Am Defenderparts you’re looking for, UTV Direct has you covered. We offer competitive pricing and fast shipping on all orders, so shop with us today!
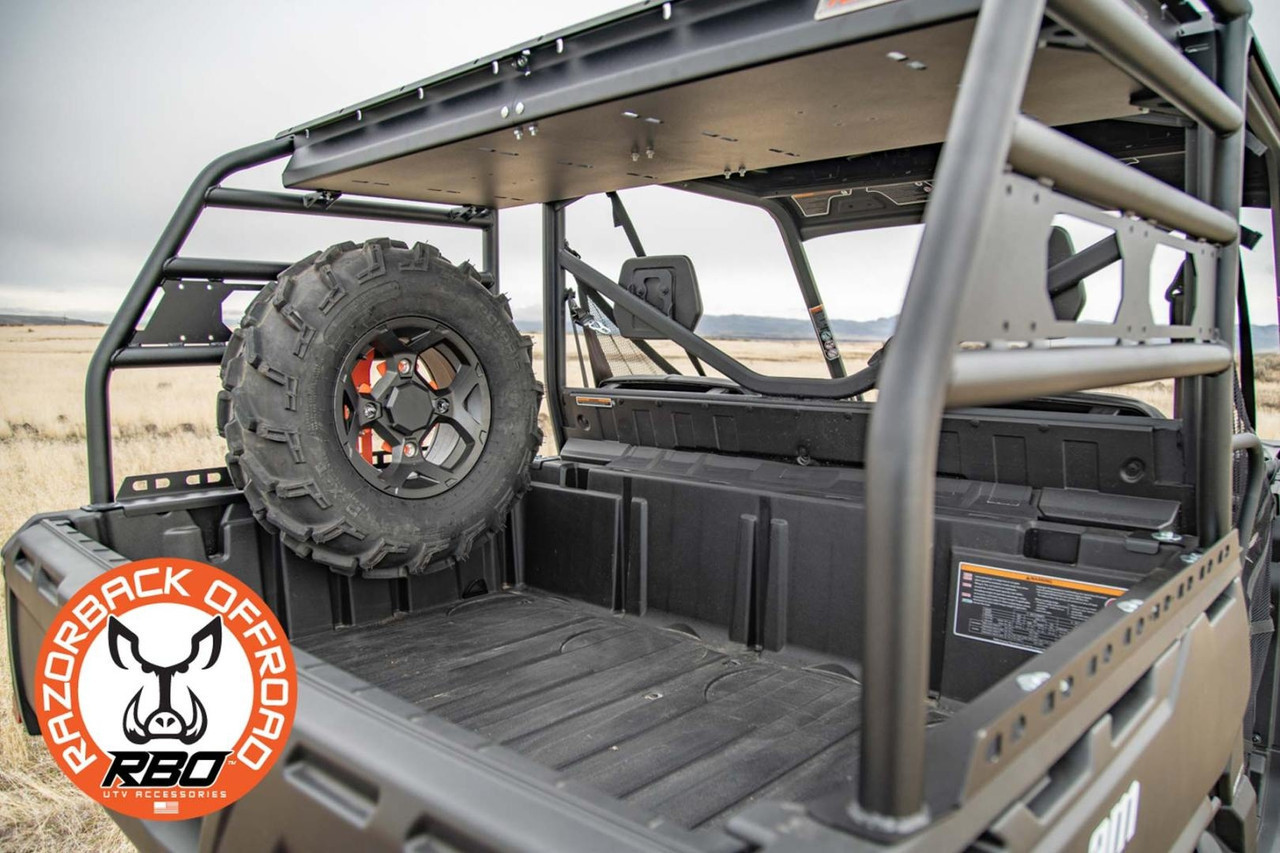
Razorback Rack for Can-Am Defender
If you’re in the market for a new roof rack for your Can-Am Defender, then you should definitely check out the Razorback Rack from Rhino-Rack. This tough and durable rack is specifically designed to provide maximum protection and stability for your gear, while still being easy to install and remove when needed.
The Razorback Rack features a full-length wind fairing that helps to reduce noise and drag, as well as two integrated light mounts that allow you to add some extra illumination to your setup.
Additionally, the rack includes four heavy-duty tie-down points that make it easy to secure your belongings while on the go.
Best of all, the Rhino-Rack team offers a lifetime warranty on their products, so you can rest assured that your investment is protected. Whether you’re looking to add some extra storage space for your next off-road adventure or just want peace of mind knowing that your gear is safe and sound, the Razorback Rack is a great option worth considering.
Conclusion
If you’re looking for a way to mount a spare tire on your Can-Am Defender, there are a few different options available. You can choose from a variety of different brands and styles, so it’s important to find one that will fit your needs. There are also several different sizes available, so you’ll want to make sure you select the right size for your vehicle.
Once you’ve found the perfect spare tire mount for your Can-Am Defender, installation is easy and only takes a few minutes.